How to Fix a Paper Size Mismatch Error on a Ricoh MFP

Encountering a paper size mismatch error on your Ricoh multifunction printer (MFP) can be frustrating, especially when you need to print important documents quickly. This common issue arises when the printer detects a difference between the paper size specified in the print settings and the actual paper loaded in the tray. Fortunately, resolving this error is straightforward with a few adjustments. Here’s a step-by-step guide to fixing a paper size mismatch error on a Ricoh MFP.

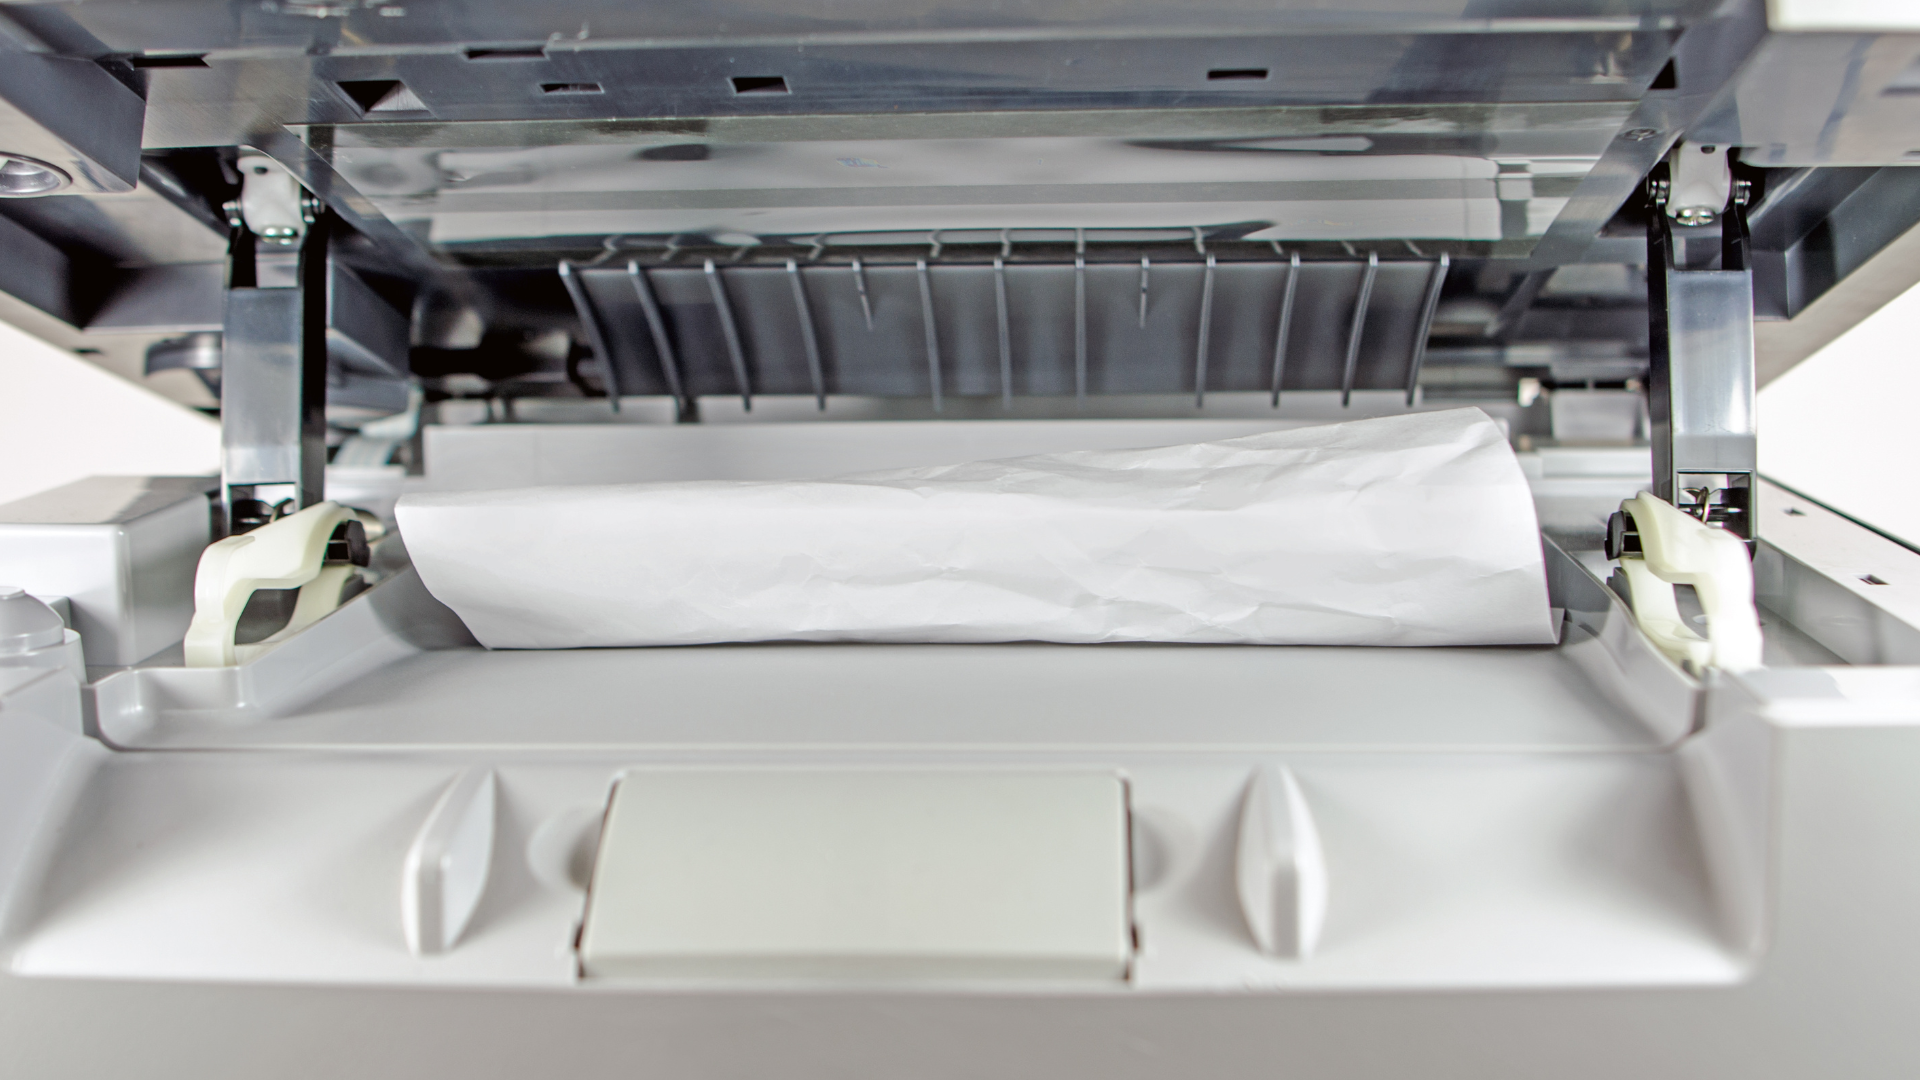
Step 1: Check the Paper Size in the Printer Tray

The first step is to ensure that the correct paper size is loaded in the printer tray.

  • Open the paper tray and verify the paper dimensions.
  • Adjust the paper guides to match the size of the loaded paper precisely.
  • Confirm that the paper is lying flat and not curled, which can cause misreading.

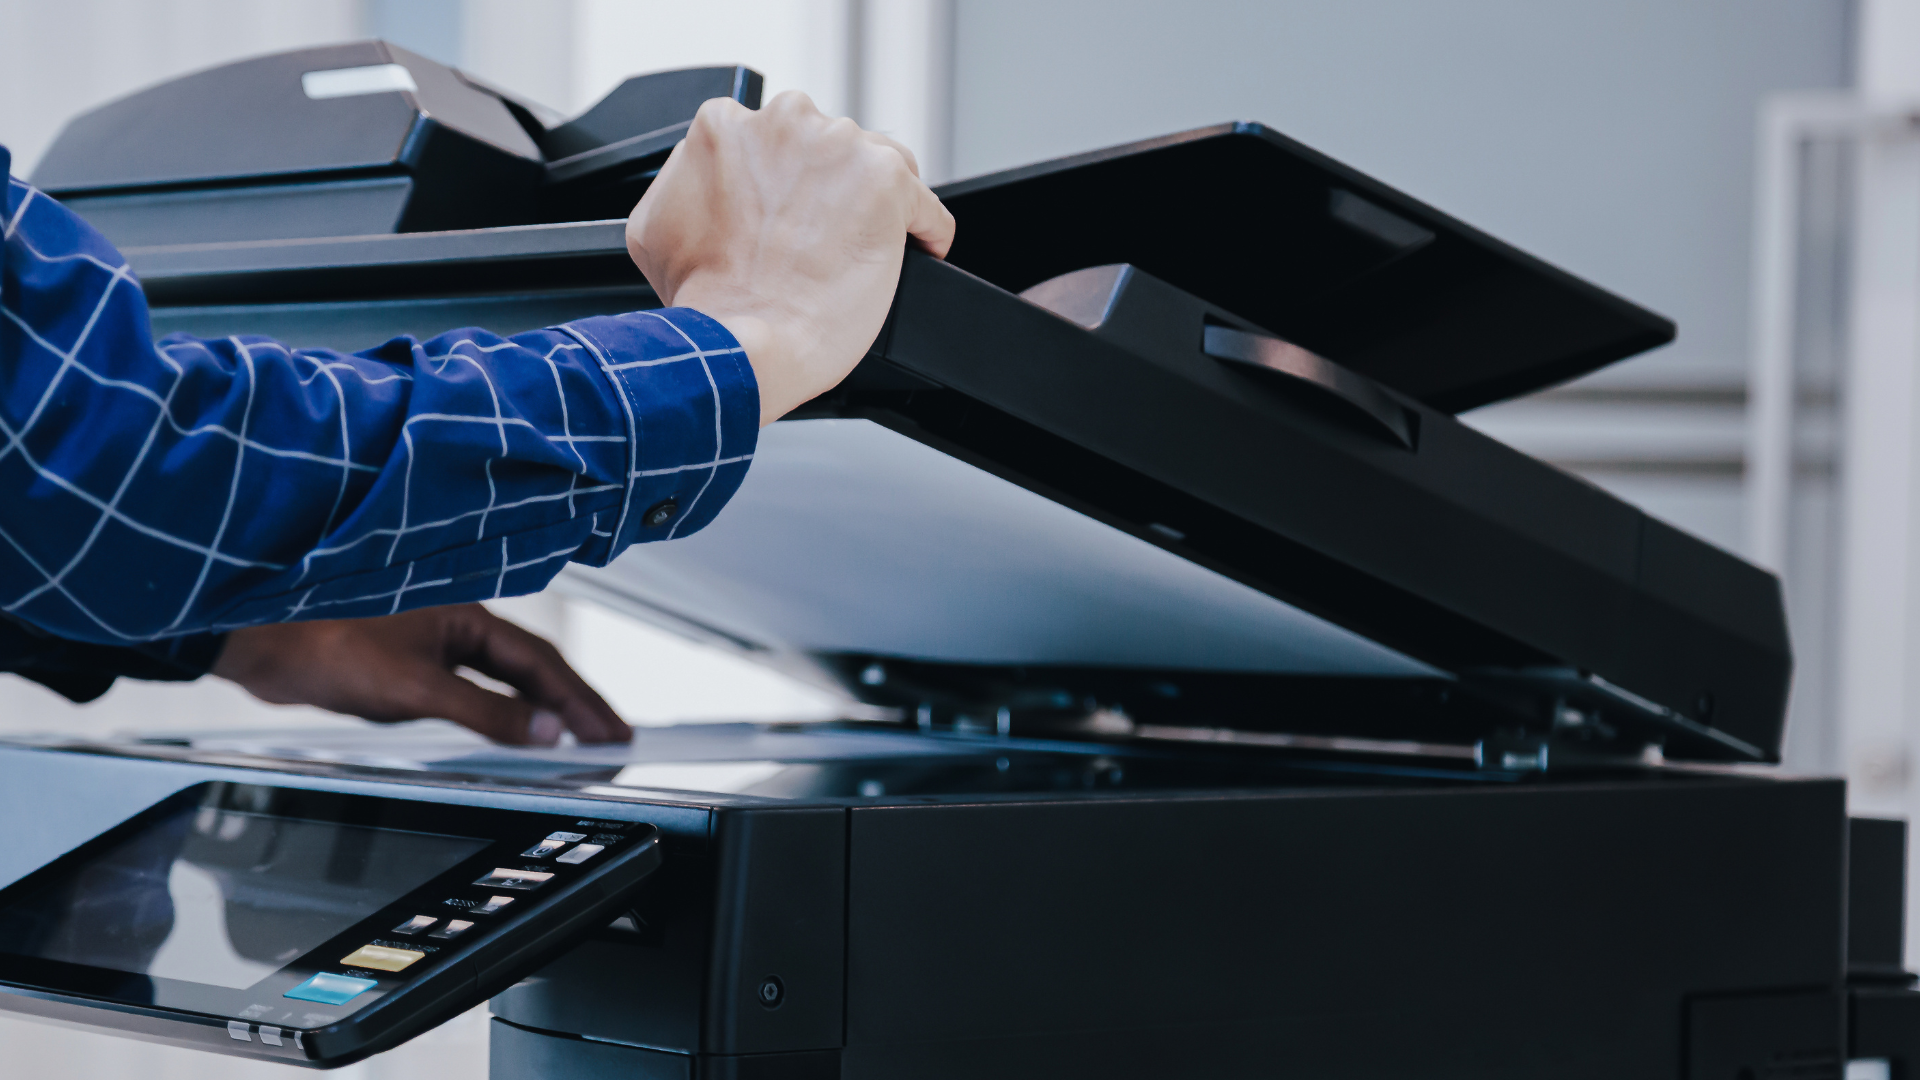
Step 2: Verify Paper Size Settings on the Printer

If the loaded paper size is correct, check the printer’s settings:

  1. Press the User Tools/Counter button on the Ricoh MFP’s control panel.
  2. Navigate to System Settings > Tray Paper Settings.
  3. Select the tray experiencing the error.
  4. Ensure that the displayed paper size matches the actual paper in the tray.
  5. If needed, change the setting to the correct paper size and press OK to save.

Step 3: Adjust Paper Size in Print Settings on Your Computer

A mismatch can occur if the print job settings from your computer don’t align with the printer’s settings.

  1. Open the document you’re printing and go to File > Print.
  2. Click on Printer Properties or Preferences.
  3. Look for the Paper Size option and select the correct size (e.g., Letter, A4, Legal, etc.).
  4. Ensure the selected tray matches the one where the paper is loaded.
  5. Click OK and try printing again.

Step 4: Override the Mismatch Manually

If the error persists despite correct settings, some Ricoh MFPs allow users to override the error:

  1. When the Paper Size Mismatch error appears on the screen, press Continue or Use Custom Size (if available).
  2. If your printer prompts you to confirm printing on a different paper size, select Yes to proceed.
  3. Some models have an option to disable size detection in System Settings > Tray Paper Settings for specific trays.

Step 5: Check for Firmware Updates

Outdated firmware can sometimes cause persistent paper size detection issues. To check for updates:

  • Visit Ricoh’s official website and locate your printer model.
  • Download and install the latest firmware update if available.
  • Restart the printer and try printing again.

Step 6: Reset the Printer

If none of the above steps work, try resetting the printer:

  • Turn off the printer and unplug it from the power source for a few minutes.
  • Restart the printer and attempt printing again.

Troubleshooting Common Causes

  • Mixed Paper in the Tray: Ensure all sheets in the tray are the same size.
  • Paper Type Conflicts: Some printers check both paper size and type. Ensure the paper type (e.g., plain, thick, glossy) matches the settings.
  • Tray Auto-Detection Errors: If the tray has an auto-detect feature, recalibrate it by adjusting the paper guides and reloading the paper.

Final Thoughts

Fixing a paper size mismatch error on a Ricoh MFP is usually a quick process once you check the paper trays, printer settings, and print job configurations. By following these steps, you can minimize downtime and ensure smooth, hassle-free printing. If the issue continues, contacting Logicopy support may be necessary for further troubleshooting. We can be reached by emailing support@logicopy.com or calling (760) 438-8000 for immediate support during business hours.

Published On

March 1, 2025

Return to Blog