Step 1: Update Your New Router to Match the Old Router Settings
Before making any changes to your Ricoh MFP, update your new router to match the settings of your old router. This will help prevent connection issues with your existing devices.
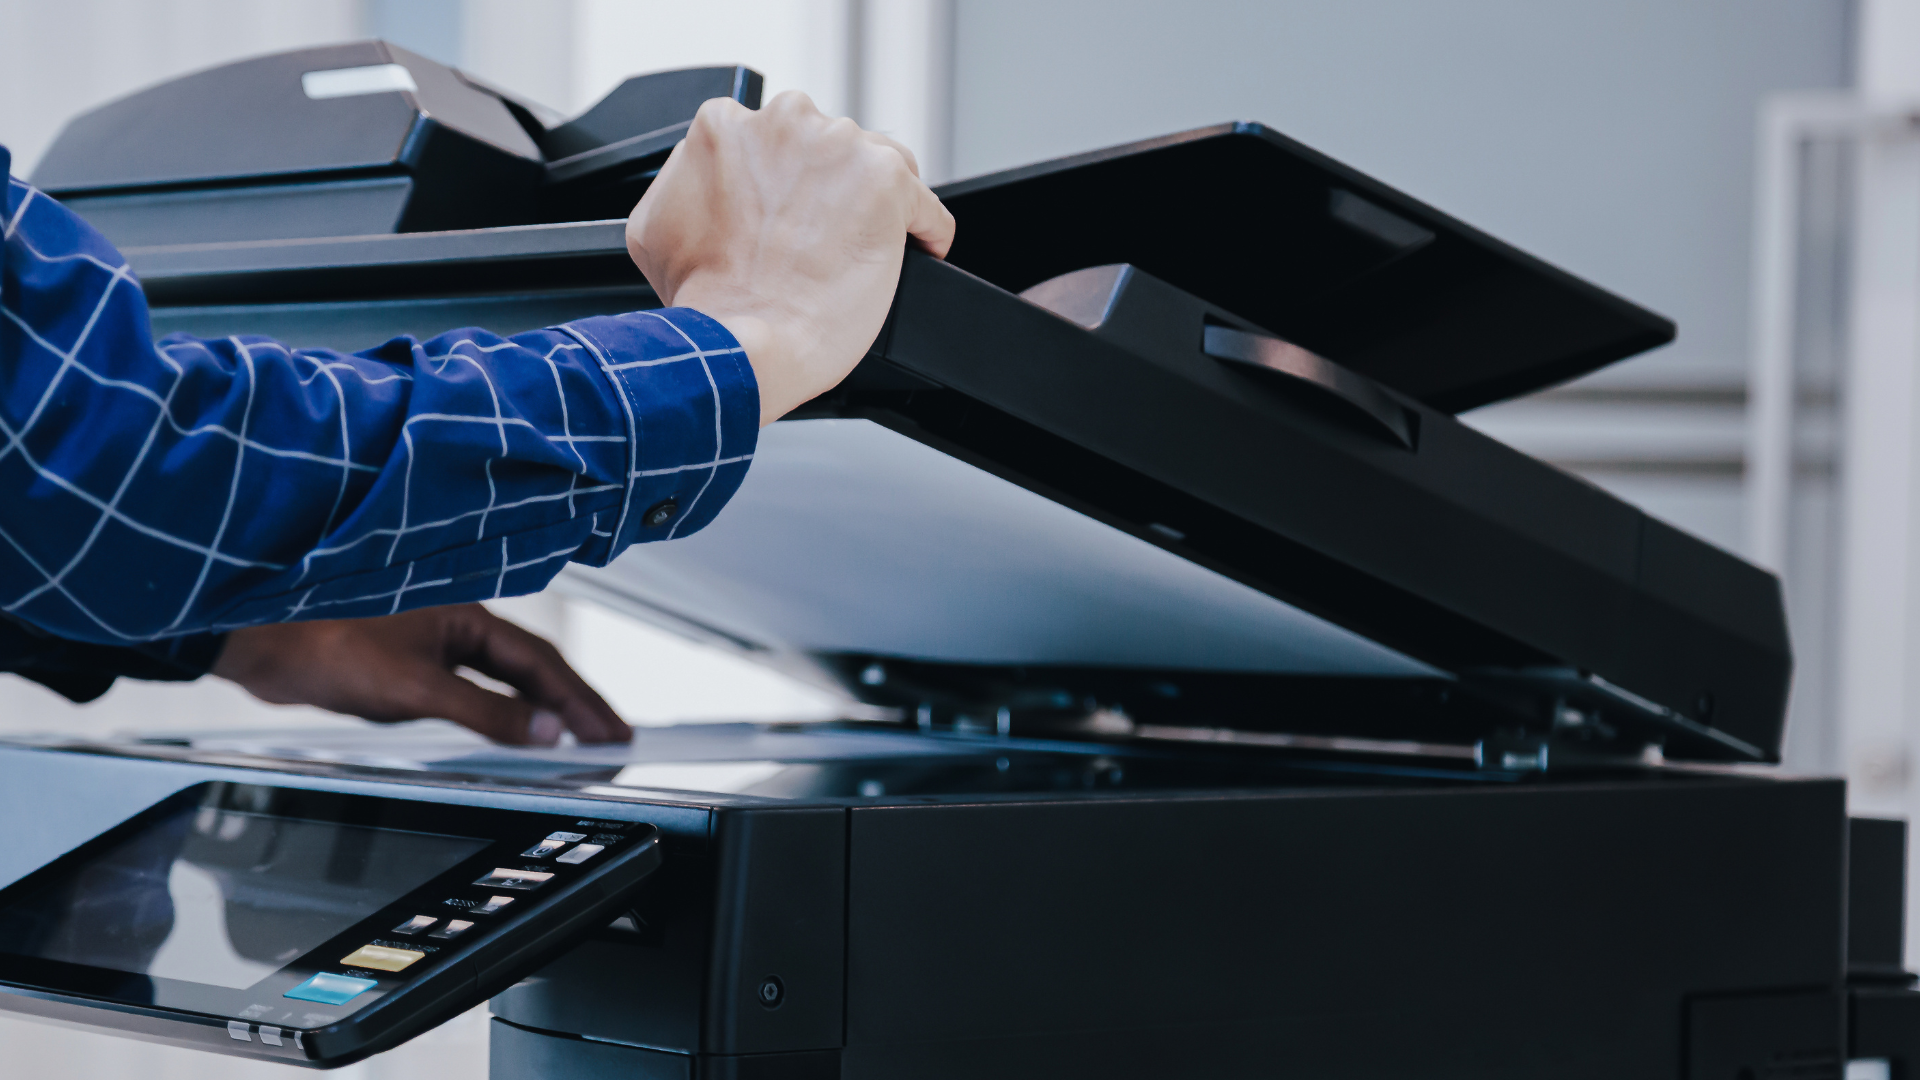
- Get the IP Range from the Copier – On your Ricoh MFP:
- Press [User Tools] or [Settings].
- Navigate to [System Settings] > [Interface Settings] > [Machine IPv4 Address].
- Write down the current IP address and subnet mask.
- Update Your Router Settings – Log into your new router and configure the IP range to match the previous network settings.
- Call Logicopy for Help Before Continuing –
Our experts can walk you through the process to prevent unnecessary troubleshooting steps. If issues persist after updating the router, proceed with the following steps.
Step 2: Confirm Network Changes
When your internet provider changes or you move to a new network, key settings may be different. Here’s what could have changed:
- New IP Address Range – Your Ricoh MFP may have been assigned a different IP.
- New Router Settings – Firewalls or security settings could block the printer.
- Wi-Fi vs. Ethernet – If you were previously wired and now need Wi-Fi, new configurations are required.
Step 3: Locate Your Printer’s Current Network Settings
To check if your Ricoh MFP is connected to the correct network:
- Press the [User Tools] or [Settings] button on the printer.
- Navigate to [System Settings] > [Interface Settings] > [Machine IPv4 Address].
- Compare the displayed IP address with your new network's IP range.
If the IP address does not match your new network’s range, you’ll need to update it.
Step 4: Update the Printer’s Network Settings
If your Ricoh MFP isn’t connecting, follow these steps:
For Wired (Ethernet) Connections:
- Plug in the Ethernet Cable – Ensure it’s securely connected to both the printer and the router.
- Restart the Printer – Sometimes, a simple reboot allows the printer to obtain a new IP address automatically.
- Assign a New IP Address (If Needed) – If the printer does not automatically get a new IP:
- Go to [User Tools] > [System Settings] > [Interface Settings].
- Select [Specify IPv4 Address] and manually enter an IP within your network’s range.
For Wireless (Wi-Fi) Connections:
- Reconnect to Wi-Fi:
- Go to [User Tools] > [Network Settings] > [Wi-Fi Setup].
- Select your new network and enter the Wi-Fi password.
- Check for MAC Address Filtering:
- Some routers block unknown devices. Log into your router and check if MAC address filtering is enabled. If so, add your Ricoh MFP’s MAC address to the allowed list.
Step 5: Update Print Drivers on Computers
If the network change altered the printer’s IP, your computers may no longer recognize it. To update the connection:
- On your computer, go to Printers & Scanners.
- Remove the old Ricoh printer listing.
- Click Add Printer, then select Add a network printer.
- If the printer is not automatically detected, enter the new IP address manually.
Step 6: Test Printing and Scanning
Once everything is reconnected:
- Print a test page to ensure the connection is stable.
- Test scanning if your MFP is set up to send scans via email or network folders (you may need to update SMTP or SMB settings if they rely on the previous network).
Final Troubleshooting Tips
- Restart everything (again, if needed) – Power cycle your router, printer, and computer.
- Check firewall settings – Some networks have stricter security settings that may block your Ricoh MFP.
- Consult your IT team or Logicopy Support – If issues persist, there may be advanced configurations needed.
Switching to a new network doesn’t have to mean printer chaos. By updating your router settings first, verifying network settings, updating IP addresses, and reconnecting computers, you can get your Ricoh MFP back up and running smoothly. If you’re still having trouble, Logicopy Support is here to help:
📞 760-438-8000
📧 support@logicopy.com