
Printing envelopes on a Ricoh multifunction printer (MFP) may seem like a small task, but doing it correctly can prevent paper jams, smudging, and misalignment issues. Whether you’re printing a single envelope or a large batch for business mailings, following the right steps ensures a professional result. This guide walks you through the process of printing envelopes on a Ricoh MFP efficiently and accurately.

Step 1: Check Envelope Compatibility
Not all envelopes are suitable for printing in an MFP. To avoid jams or print quality issues, use envelopes that:
Step 2: Load Envelopes into the Paper Tray
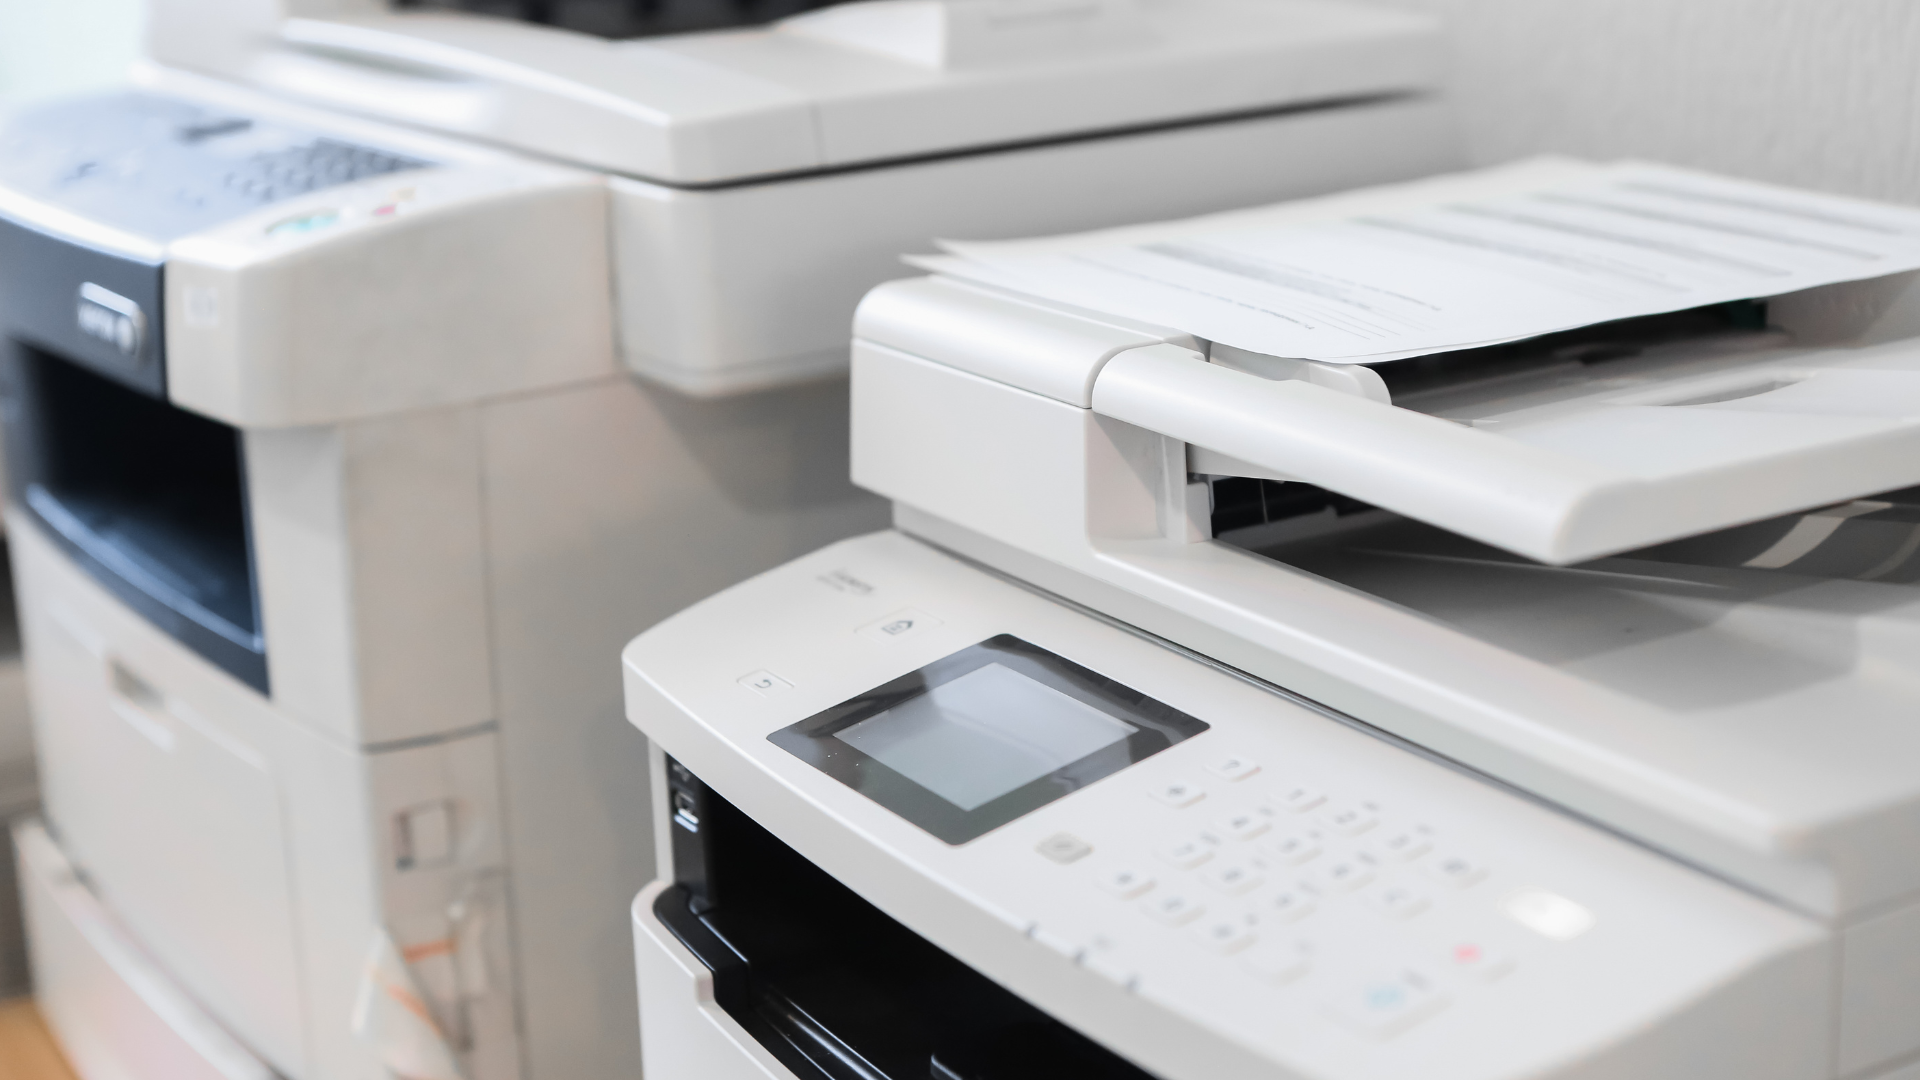
Most Ricoh MFPs support envelope printing through the bypass tray, as it allows for manual feeding and prevents envelopes from being squeezed in high-volume paper trays.
Step 3: Configure Printer Settings
To ensure proper alignment and toner adhesion, adjust the printer settings before printing.
Step 4: Set Up Envelope Printing on Your Computer
Before sending your print job, configure your computer’s print settings:
Step 5: Print a Test Envelope
Before printing a large batch, always print a single envelope to check alignment, smudging, and text positioning. If needed:
Troubleshooting Common Issues
Final Thoughts
Printing envelopes on a Ricoh MFP is a simple process when done correctly. By choosing the right envelopes, configuring the printer settings, and performing a test print, you can ensure high-quality, professional-looking envelopes for business or personal use. If issues persist, consult your Logicopy support expert or email us for assistance. We can be reached by emailing support@logicopy.com or calling (760) 438-8000 during business hours.